Stop the Squeaks: Your Essential Guide to Bicycle Noise Diagnosis and Fixes.
There’s nothing quite like a smooth, silent ride on your bicycle, but when mysterious squeaks and clicks start to interrupt your cycling experience, it can quickly go from joy to frustration. These noises are more than just annoying; they’re often early warnings of mechanical issues that can worsen if left unresolved. Whether you’re a commuter, weekend warrior, or completely new to two wheels, understanding how to diagnose and fix these noises can save you time, money, and headaches. This comprehensive bicycle noise diagnosis guide for beginners will walk you through the most common sounds, their potential sources, and how to get your ride whisper-quiet again.
Types of Bicycle Noises
Before you grab a wrench or reach for the chain lube, it’s important to understand what kinds of noises bikes typically make and what they might indicate. Bicycle noises fall into a few main categories: squeaks, creaks, clicks, clunks, and grinding. Each of these sounds has a distinct tone and rhythm that offers clues about its origin.
Squeaks are high-pitched and repetitive, often tied to friction between moving parts. These are usually caused by dry joints or poor lubrication. Creaks are deeper and can sound like a door hinge slowly opening, typically related to frame components or bolts under stress. Clicking sounds tend to be rhythmic and can occur with each pedal stroke or wheel rotation, pointing to issues like a misaligned derailleur or loose spoke. Clunks are dull, sudden noises that may mean something is loose or worn out. Grinding noises, meanwhile, suggest metal-on-metal contact and require immediate attention.
Being able to distinguish between these sounds will help you narrow down the source and take effective action, especially if you’re using a bicycle noise diagnosis guide for beginners like this one.
Diagnosing Pedal and Crank Noises
If you hear noises when you’re pedaling, the first place to investigate is your crankset, pedals, and bottom bracket. These components experience significant force and movement, making them common culprits for creaks and squeaks.
Start by rotating the pedals while the bike is stationary and listen closely. If the noise is present, remove the pedals and apply fresh grease to the threads before reinstalling. No improvement? Move on to the crank arms. Loose crank arms can cause creaking during every rotation, particularly under heavy loads. Use a torque wrench to ensure the crank bolts are tightened to the manufacturer’s specifications.
The bottom bracket, located where the cranks rotate through the frame, can also be a source of persistent creaking. Diagnosing bottom bracket issues may require removing the cranks entirely to inspect the bearings and shell. If there’s play or resistance, it could be time for a bearing replacement or a full reinstallation with threadlocker and grease, depending on the design. These steps might sound intimidating at first, but they are well within reach, especially with a bicycle noise diagnosis guide for beginners.
Silencing the Saddle and Seatpost Creaks
It might surprise you, but many noises that seem to come from the bottom bracket or pedals actually originate from the saddle or seatpost. The vibrations travel through the frame and mislead your ears. To rule this out, start by dismounting and bouncing the rear wheel gently on the ground to isolate the sound. If the noise occurs without pedaling, your saddle or seatpost may be to blame.
Remove the seatpost from the frame and clean it thoroughly. Apply a thin layer of assembly paste if your frame is carbon or standard bike grease if it’s metal. Reinsert and torque the seatpost clamp to spec. Also, check your saddle rails and bolts. Saddles can creak due to loose bolts or worn contact points where the rails meet the clamp. Tighten all fasteners and consider applying a dab of grease between the saddle rails and seatpost clamp interface.
Persistent saddle creaks are often overlooked, but they can easily be eliminated with a methodical check. Learning to trace sounds to their true origin is a key part of any bicycle noise diagnosis guide for beginners.
Identifying Wheel and Hub Issues
When a clicking or ticking sound occurs once per wheel rotation, the issue likely lies with the wheels. Begin by spinning each wheel and checking the spokes. Lightly squeeze pairs of spokes together to listen for noise. Loose spokes can make a pinging or clicking sound as they flex under load. If you find a loose one, use a spoke wrench to tension it, but avoid overtightening, which could warp the rim.
Next, inspect the hub and axle. Dry bearings can grind or growl, especially when coasting. If your bike uses cup-and-cone hubs, they may need adjustment or regreasing. Cartridge bearing hubs, on the other hand, may require bearing replacement if they feel rough or loose. Also, check the quick-release skewers or thru-axles. Improperly tensioned skewers can cause flex and noise. Remove and re-tighten these components, applying grease to any metal contact points.
Noise from the wheels not only disrupts your ride but could be a sign of structural issues that compromise safety. Addressing them early is essential, especially when following a bicycle noise diagnosis guide for beginners.
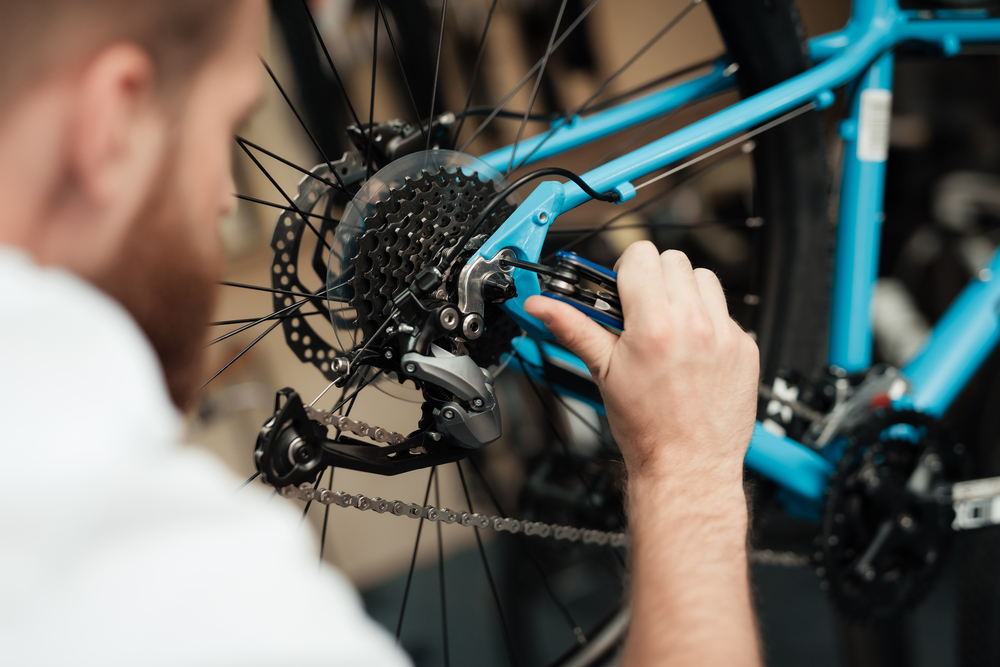
Chain, Drivetrain, and Derailleur Troubles
Grinding, clicking, or skipping sounds often come from the drivetrain, which includes the chain, cassette, chainrings, and derailleurs. Regular cleaning and lubrication are essential, as dry or dirty chains are a prime source of squeaks. Use a quality degreaser and a brush to scrub the chain, then dry it and apply lubricant evenly across all links. Let the lube sit for a few minutes, then wipe off the excess.
Check for chain wear using a chain checker tool. An overstretched chain can wear down your cassette and chainrings, causing erratic shifting and noise. If the chain is too long, replace it promptly. Shifting problems may also stem from a poorly adjusted derailleur. Listen for clicking as you pedal through gears. If the chain struggles to move between cogs or jumps under pressure, your derailleur’s limit screws or cable tension might need fine-tuning.
Bent derailleur hangers are another frequent cause of shifting noise. Inspect the hanger visually or use an alignment gauge for precise adjustments. Fixing these drivetrain issues restores not only peace and quiet but also smooth performance, a cornerstone of any solid bicycle noise diagnosis guide for beginners.
Conclusion
Noises on your bike are more than minor irritations; they are clues to underlying issues that need attention. Whether it’s a squeaky pedal, a creaking seatpost, clicking spokes, or a grinding derailleur, learning to pinpoint and fix these problems is an empowering skill for any cyclist. This bicycle noise diagnosis guide for beginners is designed to help you gain the confidence to troubleshoot and solve the most common causes of bike noises.
By staying attentive to new sounds and performing regular maintenance, you’ll extend the life of your bike and enjoy quieter, smoother rides. Silence isn’t just golden—it’s a sign of a healthy, well-cared-for bicycle. So the next time your bike starts talking, you’ll know exactly how to listen and respond.
Need a Bicycle Shop in Naples, FL?
Welcome to Big Momma’s Bicycles! Big Momma’s Bicycles has been servicing the Naples area since 2005. We are a bicycle shop that does repairs, rental service, resales, services, tune-ups, and more. Big Momma’s Bicycles is a locally owned business that does travel to pick up rentals and to help you out when your bicycle needs repairs. We have an excellent staff that is here to answer any questions you may have, so stop in or give us a call today!
Categorised in: Bike Maintenance, Bike Service